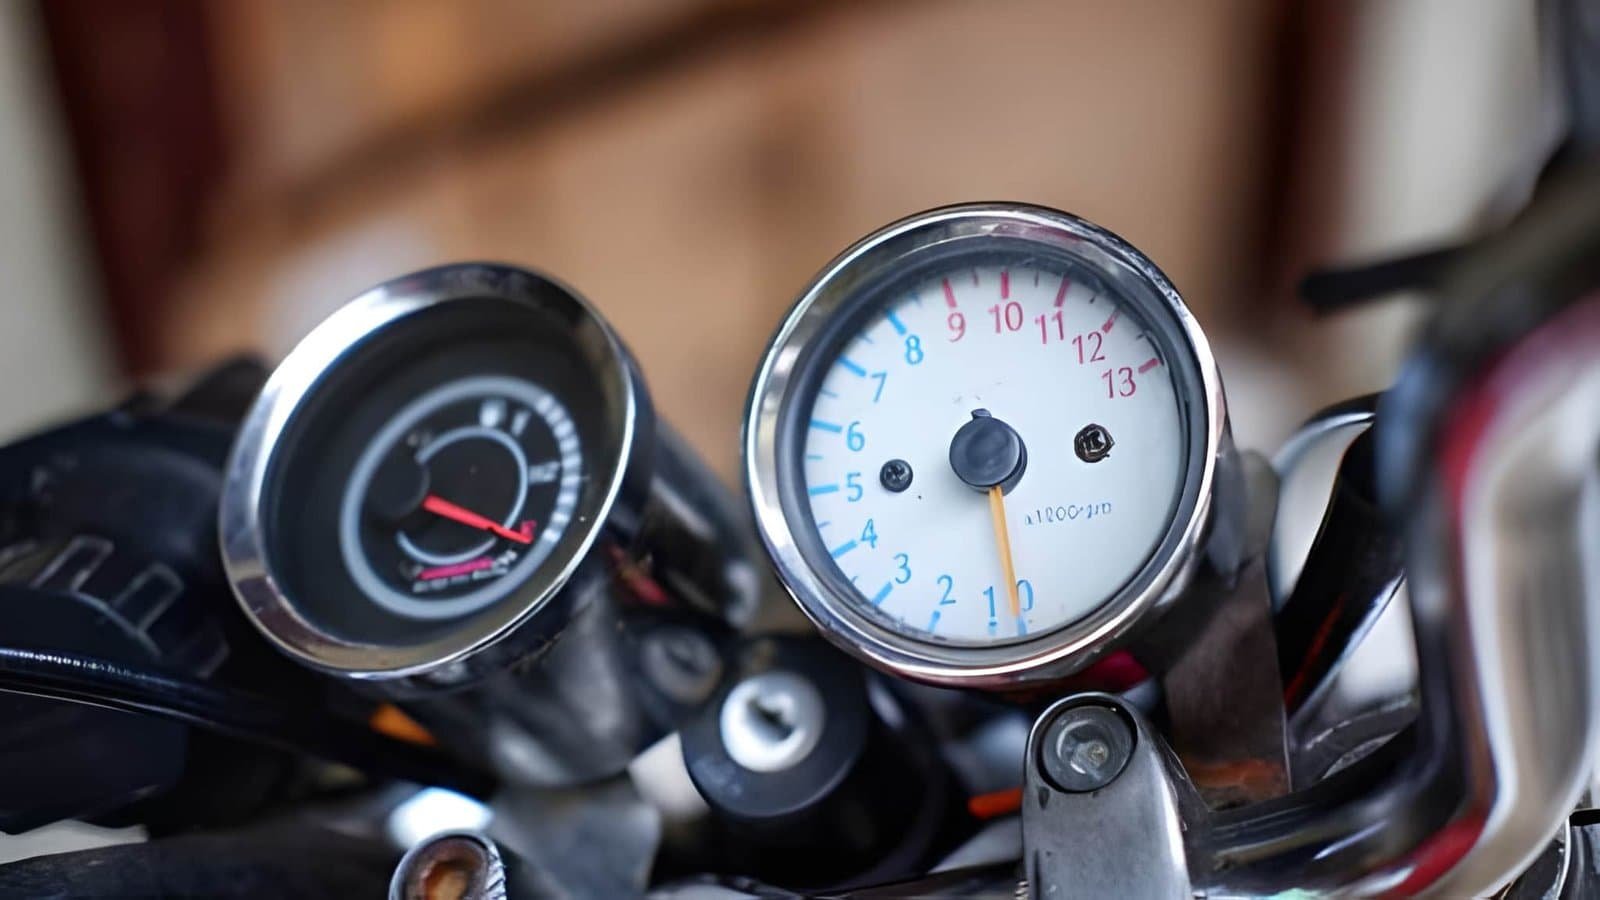
You’d think buying a gauge would be simple. You need to know how fast you’re going, maybe how hard the engine is spinning, and that’s about it. Then you actually start shopping and end up with fifteen browser tabs open, a spreadsheet, and a growing suspicion that half the listings are lying about compatibility.
Here’s what actually matters before you hand over your money.
The signal your bike gives off
Every gauge needs something to read. Speedos usually pull from a mechanical cable, a Hall effect sensor on the wheel, or a GPS unit. Tachometers read pulses off the ignition, and the pulse count depends on whether you’re running a single, twin, or four. Fuel senders output a resistance range, and if the gauge expects 0-90 ohms while your sender runs 10-180, you’ll see a needle stuck at empty or full forever.
Before anything else, figure out what your bike outputs. Then match the gauge to it. It’s the least glamorous step and the one that saves you from a return shipping label.
Size, and how much you actually have
Gauge diameter sounds like an aesthetics question. It’s really a fitment question. A 48mm speedo tucks into places a 60mm can’t touch. Bobber tanks, tracker headlight brackets, tiny side mounts on a chopper, none of that works with a wide-face cluster.
Then again, a 60mm face reads cleanly at speed without you having to lean forward. Ride harder, and you’ll want the bigger dial.
Measure your available space with tape before you shop. Include clearance for the wiring boot behind the gauge, which people forget until the back of the unit hits the top yoke.
Mounting flexibility
Stock brackets tell you a lot about how the manufacturer thinks. Some gauges ship with a single stem mount and expect you to figure out the rest. Others include side-mount arms, top-yoke plates, and enough hardware to actually build something clean.
If you’re working on a custom build, flexibility here is worth paying for. You want a gauge you can hide behind a headlight, drop next to the tank, or mount on the bar clamps depending on how the front end shakes out. Locked-in gauges force locked-in builds.
Weather resistance you can trust
Every listing claims splashproof. Fewer claim IP65 or IP67. The gap between those two words is the difference between a gauge that survives a rainy commute and one that fogs up on the first wet ride.
Read the actual ingress rating. If it’s not listed, assume it’s not rated. Riders who mostly stay dry can get away with less. Anyone touring, commuting year-round, or riding off-road should not.
Only pay for features you’ll use
The current crop of aftermarket gauges packs in more than most riders need. Shift lights, low-fuel warnings, gear indicators, trip meters, service reminders, Bluetooth pairing, and enough sub-menus to keep you busy on a rainy afternoon.
A track-focused build benefits from a programmable shift light and a proper tach. A café racer might only need a clean speedo and a warning cluster. A weekend commuter cares about backlighting and a trip meter for fuel range. Pick a feature set that maps to how you actually ride, not the spec sheet that sounds most impressive.
Anything you won’t use is another failure point and another confusing menu.
Style that fits without shouting
The dashboard is one of the first things you see when you swing a leg over. It sets the mood for the whole ride. A period-correct analog dial suits a vintage rebuild in a way no digital display can. A minimalist LCD cluster sharpens the lines of a modern scrambler.
Neither one is universally right. The question is whether the gauge sits into your build like it belongs, or announces itself as an aftermarket bolt-on. Face colour, needle style, bezel finish, and backlight temperature all play into that.
When you’re weighing quality options, premium Daytona motorcycle gauges are one of the shortlists worth checking. Compact bodies, analog faces with modern electrics inside, and enough mounting variety to fit most custom front ends.
Documentation and long-term support
The unbranded eBay special usually comes with a photocopy of a photocopy for a manual. That’s fine until you’re mid-install at midnight and the wiring diagram uses colours you don’t have.
Look for gauges backed by a real product page with wiring diagrams, sensor specs, and calibration instructions. Bonus points if replacement parts are available separately. Bezels crack, glass fogs, connectors corrode. Being able to buy the piece you broke is worth more than a slightly cheaper upfront price.
A quick sanity check before you buy
Run through this list before the checkout button:
- Do I know exactly what signal my bike outputs, and does this gauge accept it?
- Does it physically fit where I plan to mount it, including behind the face?
- Is the mounting hardware flexible enough for how I want to lay out the dash?
- Is the IP rating honest and appropriate for how I ride?
- Am I paying for features I’ll actually use?
- Does it look right on the bike, or am I convincing myself?
- Can I get a wiring diagram and replacement parts a year from now?
Six out of seven is probably fine. Four out of seven means keep looking.
Bottom line
A good gauge is one you stop noticing after the first week because it does its job cleanly. A bad one is the thing you glare at every time you swing a leg over. Spend the time up front, match the gauge to the bike and the way you ride, and you’ll skip the frustrating middle chapter where you buy the same part twice.
Also Read
- 5 Ways Online Interactive Games Are Changing At-Home Entertainment in 2026
- Car Storage in Dubai: The Honest Guide Nobody Bothered Writing
- 30 Other Ways to Say “Happy Married Life” (With Examples)