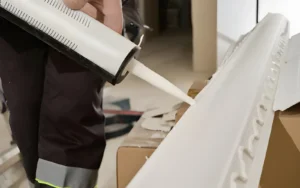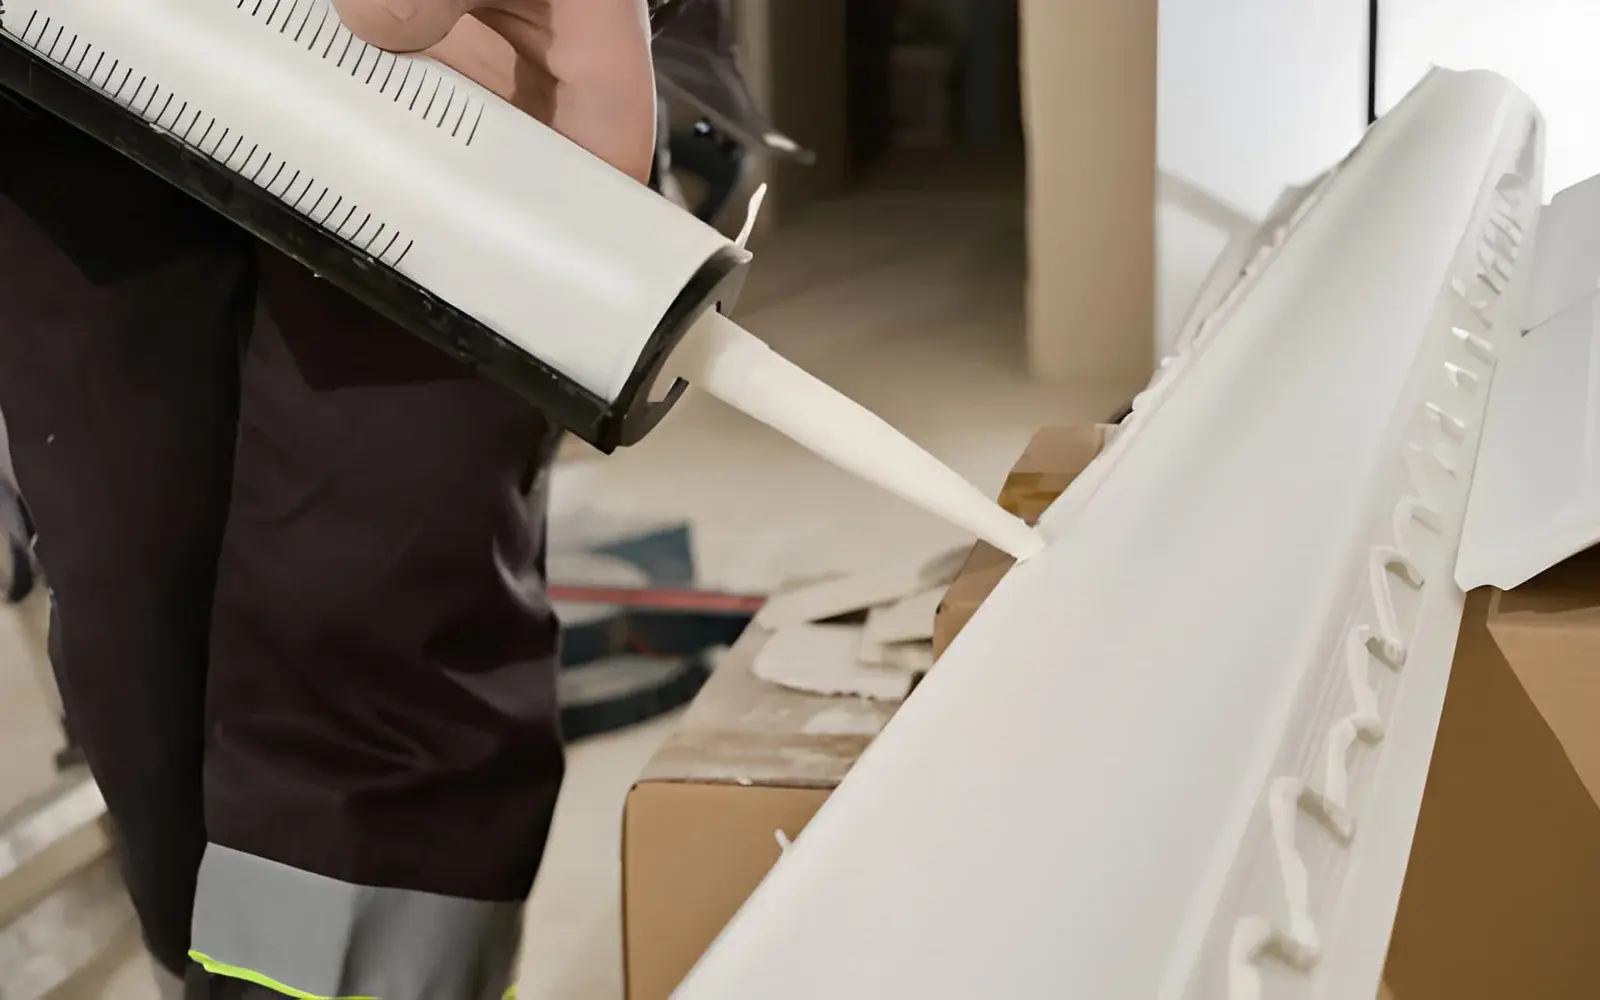
A sealant joint installed correctly with the right product, right cure chemistry, right joint dimensions still fails at a rate that surprises most site teams, and the common thread in a lot of those failures is a step that was skipped rather than a product that was wrong: the primer.
What a Primer Actually Changes
A sealant’s adhesion depends on forming a chemical and mechanical bond with the substrate surface. On some materials dense, sealed concrete, certain coated metals, treated timber that bond doesn’t form reliably without help, either because the surface is too smooth for mechanical key, too porous and dusty for a clean bond line, or chemically incompatible with the sealant’s cure by-products. A primer is formulated to bridge exactly that gap: it modifies the surface chemistry or seals a dusty, porous substrate so the sealant that follows has something reliable to bond to.
Skipping the primer on a substrate that calls for one doesn’t always cause an immediate, visible failure. It often shows up as a slow loss of adhesion over months, which is why it gets misdiagnosed as a sealant quality problem rather than a substrate preparation gap.
Where Priming Gets Skipped
The recurring pattern is priming being treated as optional on a schedule under pressure an extra step and an extra dry-time wait that a crew skips when the sealant “looks like it’s sticking fine” during application. Initial tack is not the same as long-term adhesion, and a joint that appears well-bonded on installation day can still fail from lack of primer six months later.
The second pattern is not knowing a substrate needs priming at all. Dense or sealed concrete, some powder-coated metals, and certain treated or sealed timbers are common substrates where a primer is genuinely required for reliable long-term adhesion, and none of that is visible just by looking at the surface.
When Primer Is Genuinely Optional
Not every joint needs one. Clean, unsealed, reasonably porous substrates standard masonry, untreated timber, most glass and metal surfaces compatible with the sealant’s chemistry generally bond reliably without a primer step. Adding one where it isn’t needed doesn’t hurt performance, but it does add labour time and cost the job may not require.
A Short Specification Check
Check the sealant manufacturer’s substrate compatibility guidance for the specific surface in question most technical data sheets state explicitly which substrates require priming. When in doubt on a dense, coated, or treated surface, priming is cheap insurance against a callback; skipping it to save a dry-time wait is the more expensive option if the joint fails.
Practical Takeaways
- Adhesion failure on a correctly installed joint is often a skipped-primer problem, not a bad-sealant problem
- Primers bridge a bonding gap on dense, porous, or chemically incompatible substrates
- Initial tack during installation doesn’t predict long-term adhesion primer failures show up months later
- Dense concrete, some coated metals, and treated timber are common substrates that need priming
- Clean, unsealed, compatible substrates generally don’t need a primer check the data sheet rather than assume
Where to Start
A sealant primer matched to the substrate closes the adhesion gap before it becomes a callback. First Sealant Technology’s P-20 is formulated as a primer for substrates that need it ahead of their sealant and adhesive ranges.
For advice on whether a specific substrate needs priming before a sealant application, their team can be reached at 096-818-9168, 097-959-5111, or 097-959-1222, Monday through Saturday, 08:30-17:30.
Technical specifications referenced above are drawn from the manufacturer’s published product information. Confirm substrate compatibility and suitability for your application directly with the supplier.
Read more:
- From Samples to Factory Acceptance: Keeping Custom Automation Decisions Clear
- Mrf Plastic Bottlenecks: A Plant-Level Guide for Public-Private Mrfs
- Can a Power Station Power a Home Office All Day?